
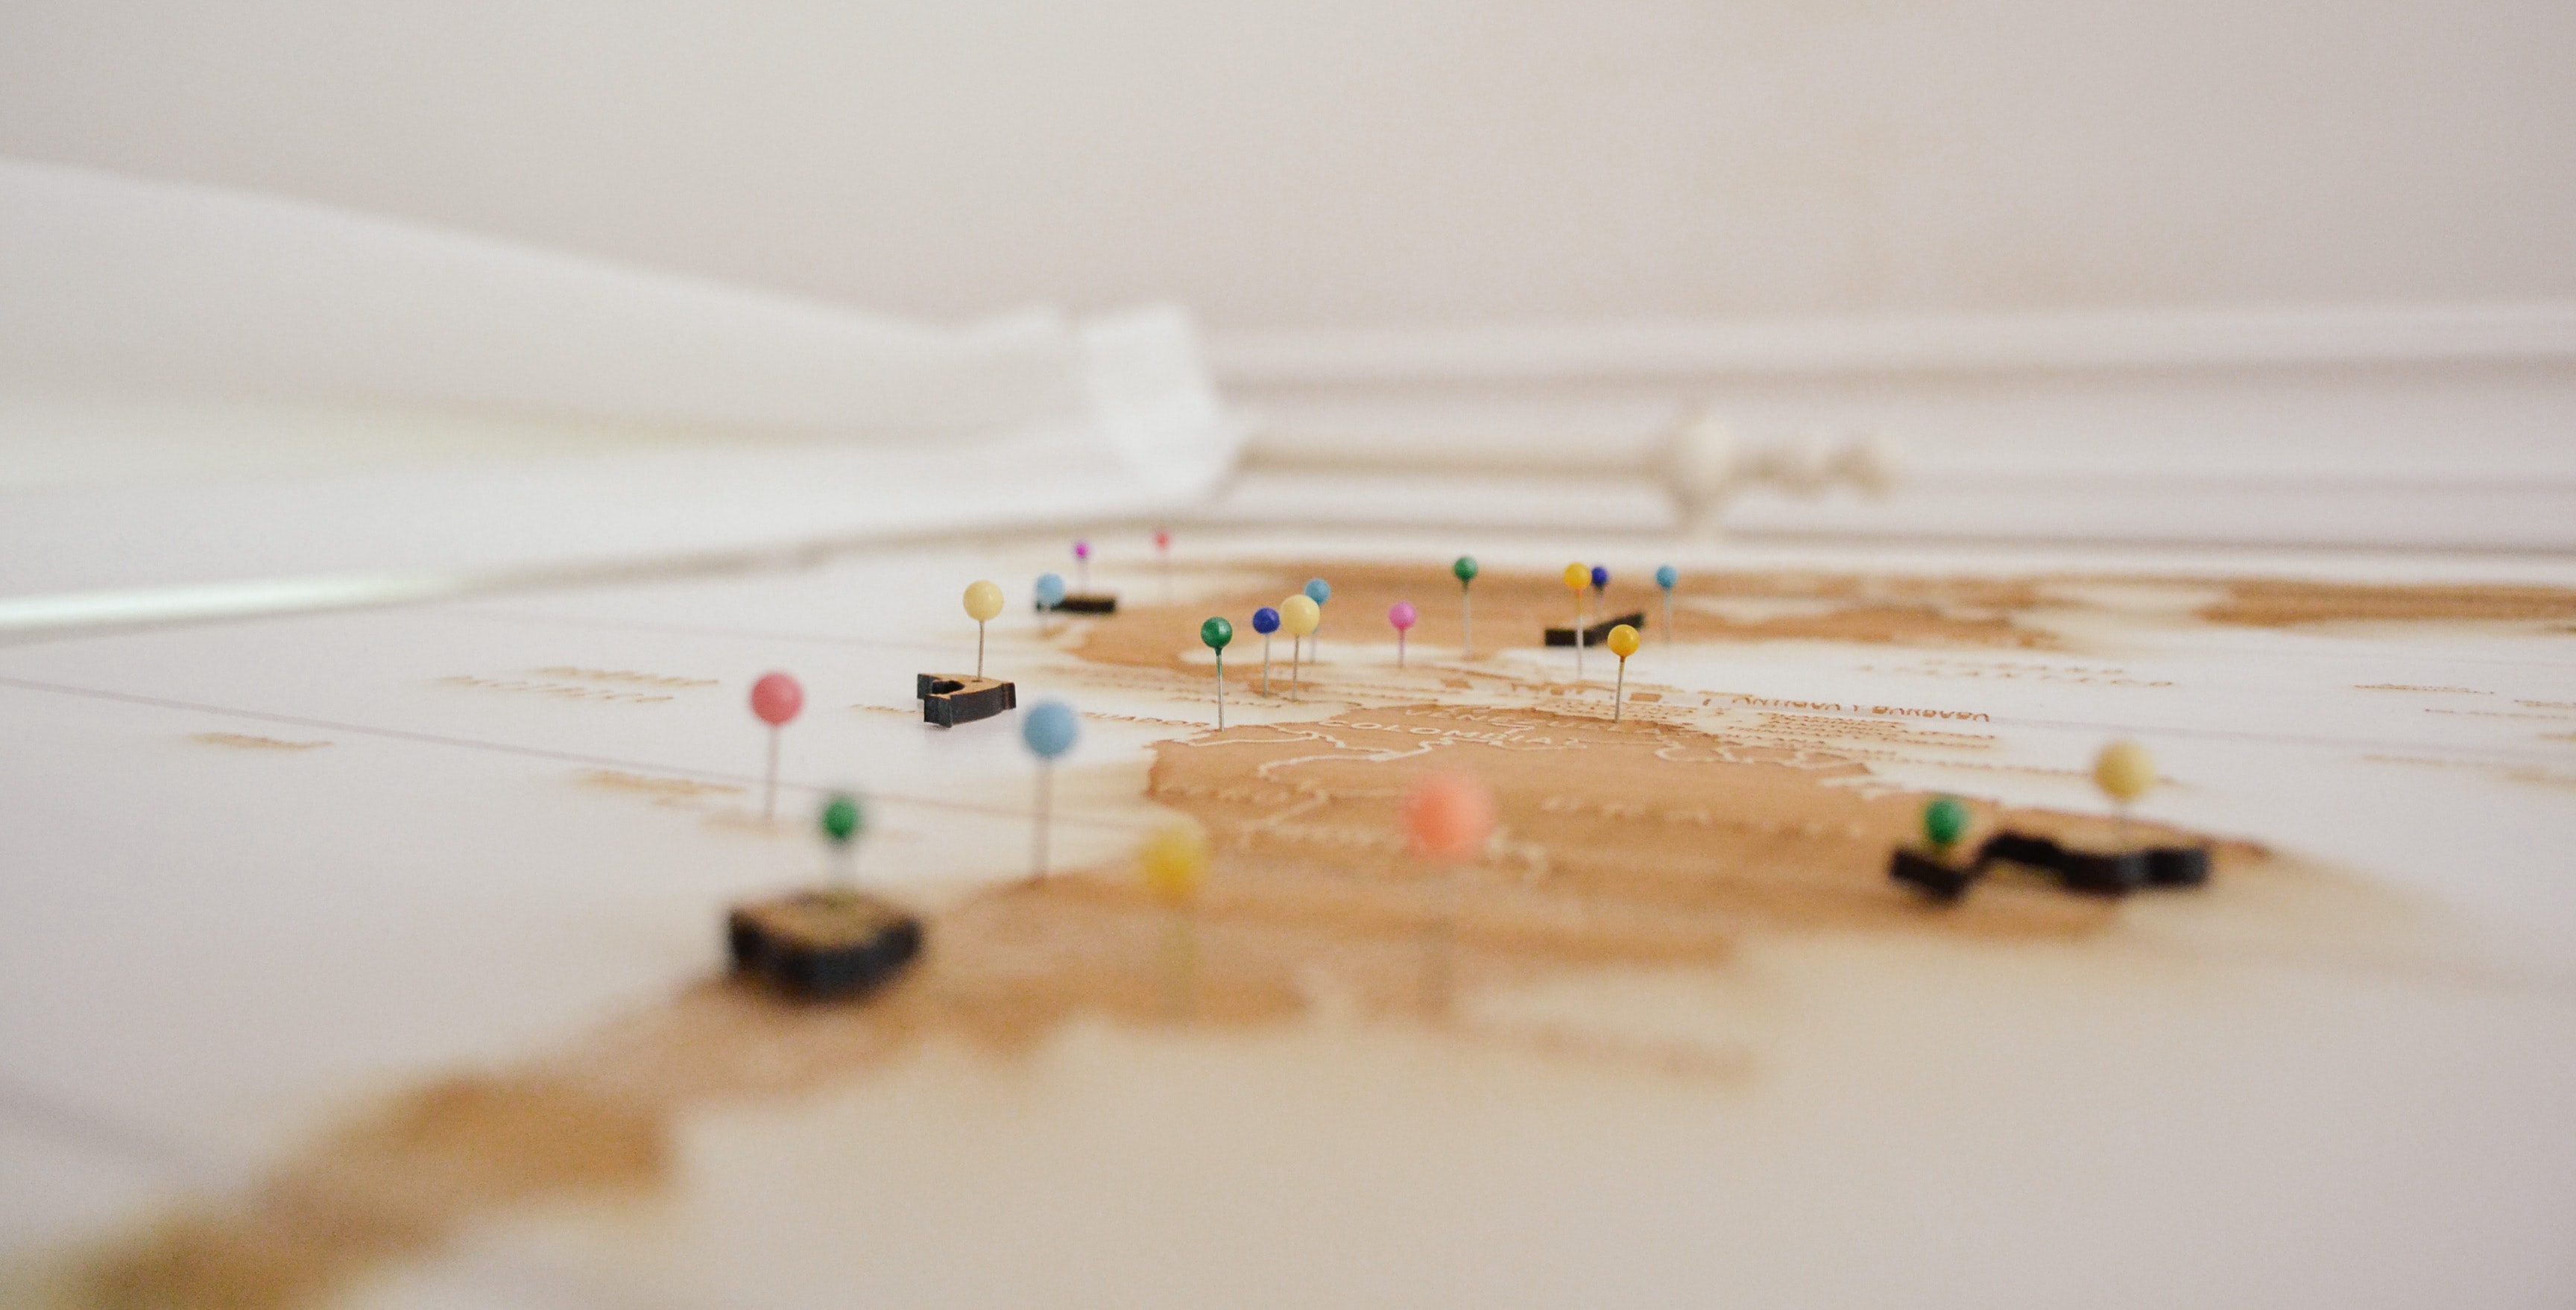
What Are Map Pins?
Map pins were first intended for pinpointing specific locations. They were then later modified to provide more context by way of their size, color, and shape.
Map pins were seldom used until the early 20th century since the only map markers available were chisel-pointed carpet tacks. These tacks would rip the paper of whatever map you press them into.
If you wanted to remove the tacks later, you needed to take care to avoid driving them too deeply into the map. Further, rusting weakened the whole tack if it was made of rough steel. Various pins, buttons, flags, beads, and other types of markers were developed to address these issues.
Pins were promoted in the early 20th century to help authorities keep track of incidents in law enforcement, education, health, and firefighting.
For instance, schools had pinned maps marking where students live; the health department had maps indicating where infectious illness had been reported; and the fire department had maps pointing where fire hydrants are located and where fires have occurred. A pinned map was an ever-evolving document that could have new information added to them at any moment and revised as new circumstances arose.
Eventually, a map could only hold so many pins with so much information left to map. Also, large pins sometimes (ironically) hid the location they were supposed to mark.
To avoid hiding the precise position of a point on the map, Jens Eilstrup Rasmussen created the Google Maps pin in 2005. This distinctive map pin took its form from the thumbtacks used to mark locations physically. And, as they say, the rest was history. Google Maps gave way to the birth of other digital map-making tools.
Mapping Software That Supports Multiple Pins
Many online map-making tools allow you to place multiple pins at once. We've compiled a short list of the top ones below:
- Maptive - when you've finished making and adding pins to your Maptive map, you may tweak the pins in various ways to get the precise appearance you desire. Make use of any of the available pin types and sizes, customize the color of your pins, and add labels. There are a total of 17 possibilities to play with. You may even personalize the pins with your own photos, logos, or other graphics.
- Visme - Create stunning national, regional, or global maps at the click of a button using Visme's map templates. You may choose any part of the globe, add pins, and color code them in any way you want. The choices for displaying data are almost endless: for instance, you might make a color-coded map of the active COVID cases in each area or nation, or you could make a map of the traditions and celebrations at this time of the year throughout the globe.
For more of our favorite interactive map makers, click here.
How To Plot Multiple Locations On Google
Create a map with multiple locations on Google Maps and then embed it on your site to show to your website visitors.
- Visit https://www.google.com/maps;
- If you aren't already logged in, do so by clicking the login icon at the upper right;
- To access further options, click the menu symbol (it looks like three stacked lines) located to the left of the search bar;
- To start customizing your map, go to Your Places > Maps > Create Map;
- There'll be a new tab or window that opens up. Select "save" once you've given your map a title and description;
- Clicking the marker symbol and dragging it into the map will manually pinpoint places, while the search box at the top of the screen will allow you to look for specific addresses;
- Give pins a name and description, and click "save" to manually add it to the map. When you search for a particular place and want to add it to the map, a green marker will appear, and you may choose the "add to map" button, and
- If there are other locations you want to map, repeat steps 6 and 7.
Why Proxi's Map Pins Are Better
Proxi does what other interactive maps can do (think, multiple customizable pins) and more. What sets Proxi apart is its crowdsourcing function for map pins. Proxi is big on collaboration, and this crowdsourcing capability is a testament to that.
You have to approve pins before they appear on your Proxi Map. You can turn on point approval at any time. Your collaborators can categorize points and add information, links, tags, photos, and more.
Of course, you also have the option to remove pins. Letting others participate is the way to go if you need to cover more ground data-wise.
How To Plot Points On A Map From Excel
Proxi's Spreadsheet View makes it easy to add, edit, or remove multiple points at once. With this feature, you can simply copy and paste information from your existing spreadsheets into Proxi.
- Select the Map you wish to add points to in bulk. Your saved maps will be at map.proxi.co. The Spreadsheet View button on the left side of your creator portal will take you to the beta spreadsheet editor.
- Ready your data from Google Sheets, Excel, or CSV files. Use CTRL + C to copy the addresses and paste them into Proxi. You may copy a single column or choose many columns at once. If you copy columns and then paste them, they will paste in the order you copied them.
- You may plot actual addresses or a general geographic location. You can assist Proxi's Spreadsheet View to locate your desired location better if you include the exact street address, city, and country.
- Choose the cell where you want to paste the information and press CTRL + V. The data will automatically be entered into the table. A minute or more may pass if you copy and paste more than 100 rows.
- Once you're finished, choose "save and load map" to see your creation!
Adventure Awaits!
Check out some of the latest articles on our blog


.png)